
Vanity Making 101 - Day Two
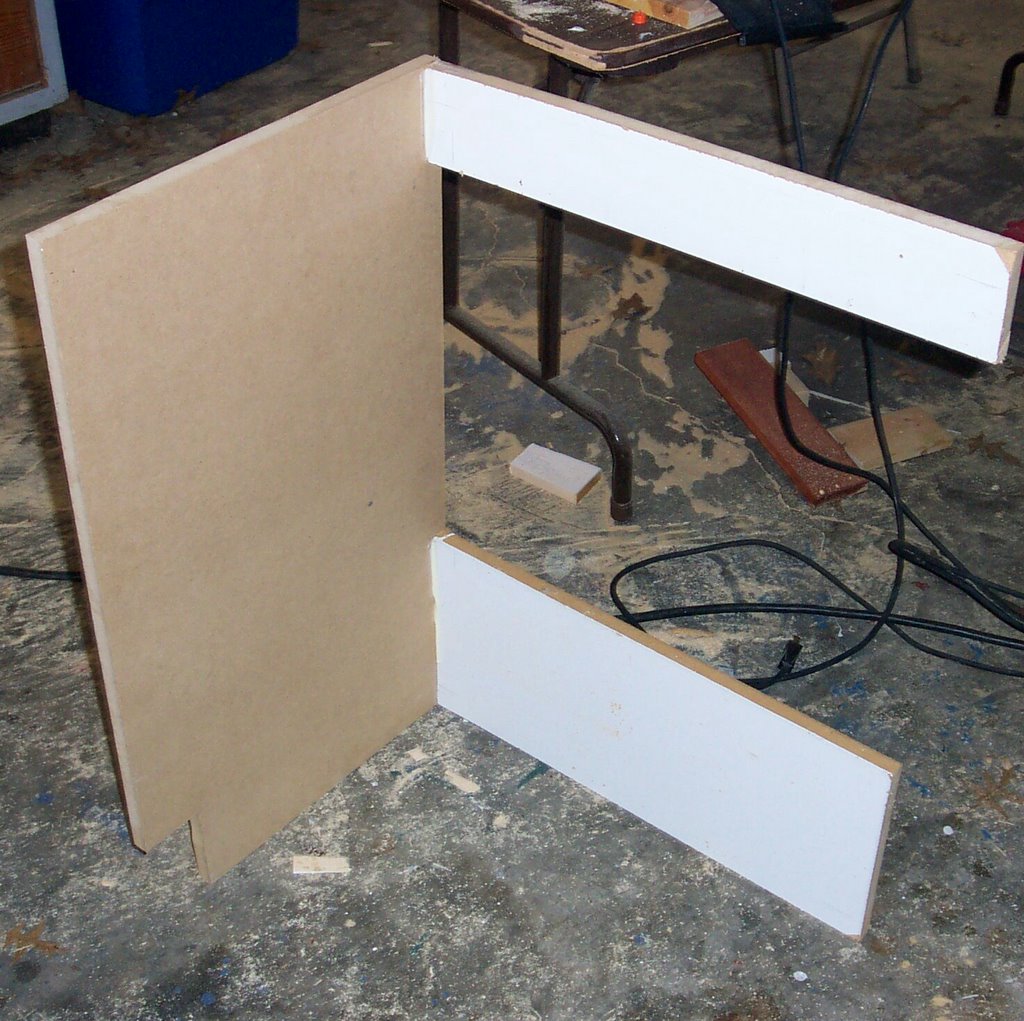 Started off the afternoon by putting braces across the base of the vanity at the top and bottom. There can't be a solid panel there, because there has to be plumbing pipes come in. So I put a 4 inch brace at the top and a 6 inch one at the bottom.
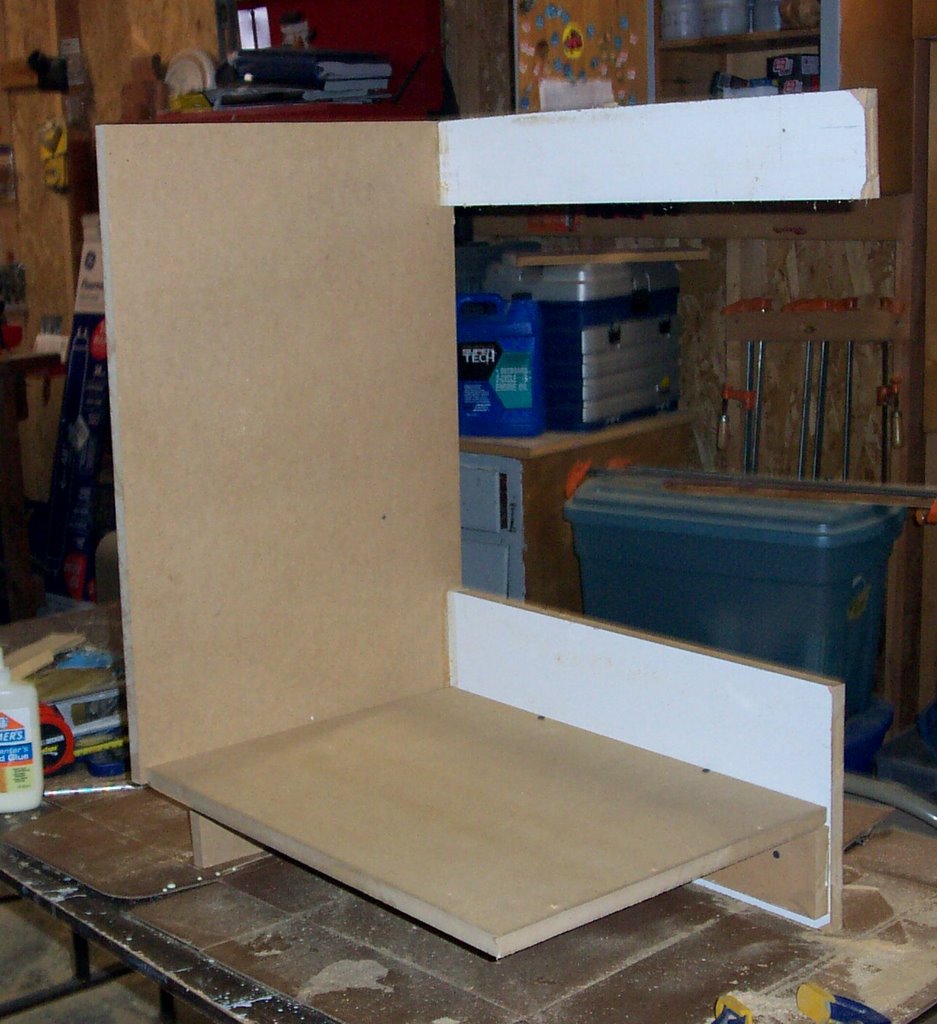 Next, I put a brace along the back wall and made the bottom of the cabinet. It is attached with screws on the side that will be up against the wall. You can see the brace board under the bottom in this picture. On the other wall, there was a brace board put under the bottom and the bottom was screwed down into the brace board.
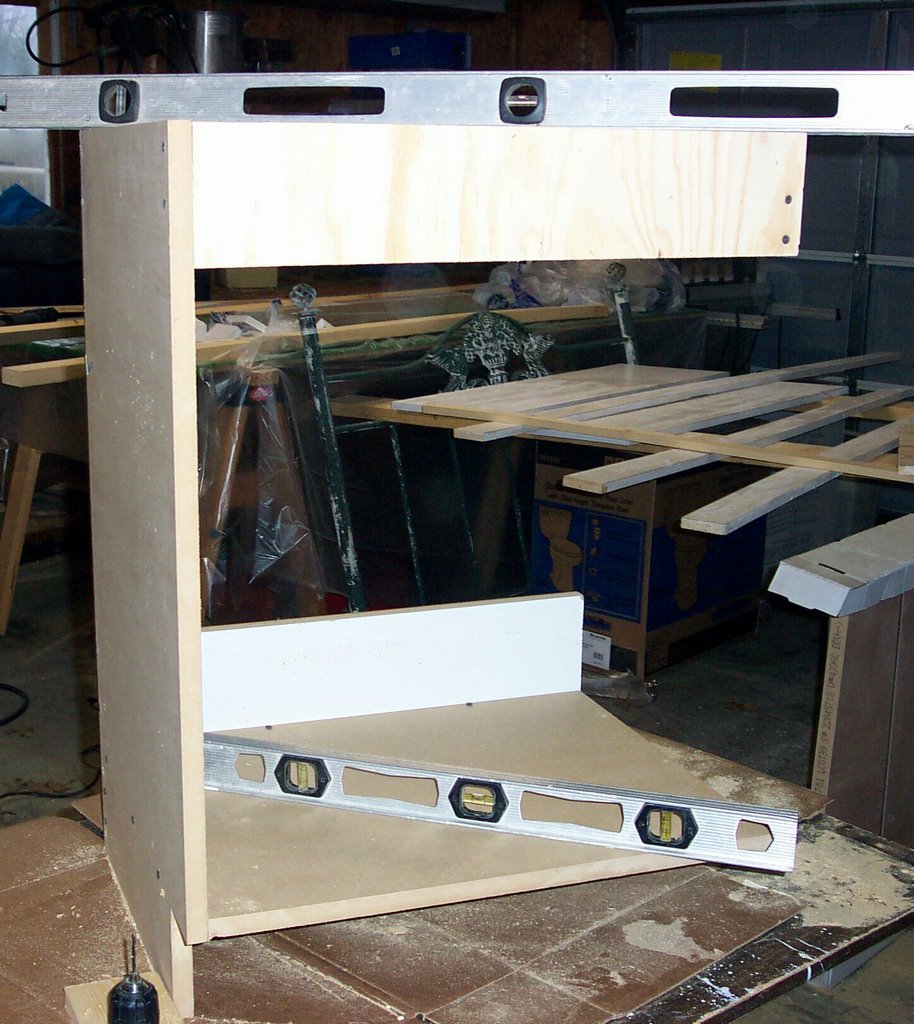 Always keep in mind that this project needs to be level - both on top and up the sides. Keep an eye on that. I put on a front top brace for the sink to sit on and it is screwed into the wall side and there is a piece of wood screwed into the right side of the front that will then screw into the side wall of the vanity to attach it to the side.
I attached the second side using biscuit joints and wood glue. Then I clamped it to dry.
I made sure everything was square and put the corner braces on the top and the back of the bottom. The screws can only go in the side so that the sink will sit flat on the top.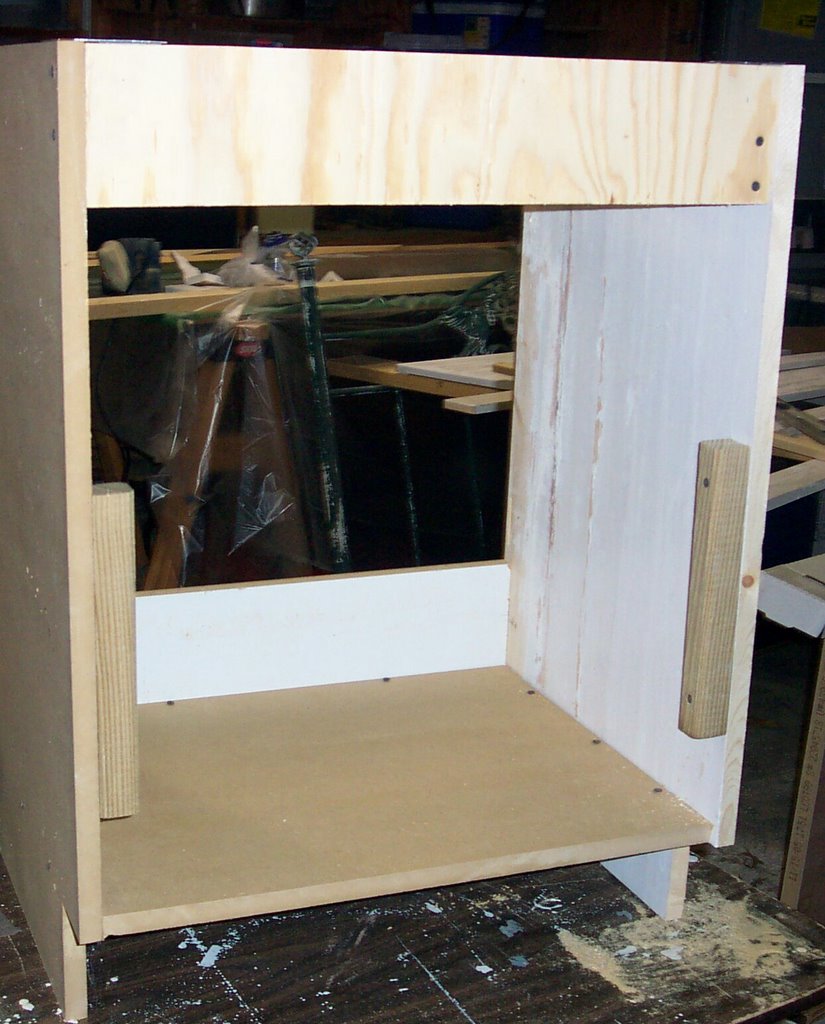
I screwed two pieces of wood in the side and one in the front on the bottom to attach the face plate to. You can see them better in the last picture. 
I glued the front on, then clamped it to dry.
Finally, I put screws in from the back on the brace boards up the side, on the bottom and the face plate across the front. No screws will show from the front, but it is now quite secure. This vanity is only going to have one large door, instead of any drawers, because it is made to store a stool to put in the new shower - but I don't want to keep the stool out all the time. So it will fit nicely under this cabinet.