
Vanity Making 101 - Day One
OK - I have had a lot of people ask for step by step instructions. Some in the comment section, but many personal emails. I'm thinking there must be a lot of wannabe woodworkers out there. So NOT that I claim to know what I'm talking about but here is the way this vanity is being put together. I'll just post the pictures day by day as it gets done.
Yesterday - I painted the wood I was going to use and then sanded it down today. It looks rough in the pictures, but I like to sand the first coat of paint. This is because when the moisture from the paint gets on the wood, it raises some rough spots which might not have been visible before you painted. So I rarely bother to sand first.
First, I cut the pieces I am going to use for the side. Since only one side of the vanity will show, it is being made from wood, while the side that is against the wall will be made from MDF (Medium Density Fiberboard). A cost cutting method since the side that is wood for the side and front cost 15 bucks and the 4 X 8 foot MDF board is 20 bucks. So there will be lots left over for other projects.
The MDF is also what the sides and back of the linen cabinet are made of since it will be built in. MDF is great for painted projects because it is very smooth and makes a great finished paint project.  In order to get a very straight cut I measure both sides, mark it, clamp a long board 1.25 inches further over than my desired piece of wood. This allows for the saw to run right along the piece of clamped wood, making the cut in the desired place.
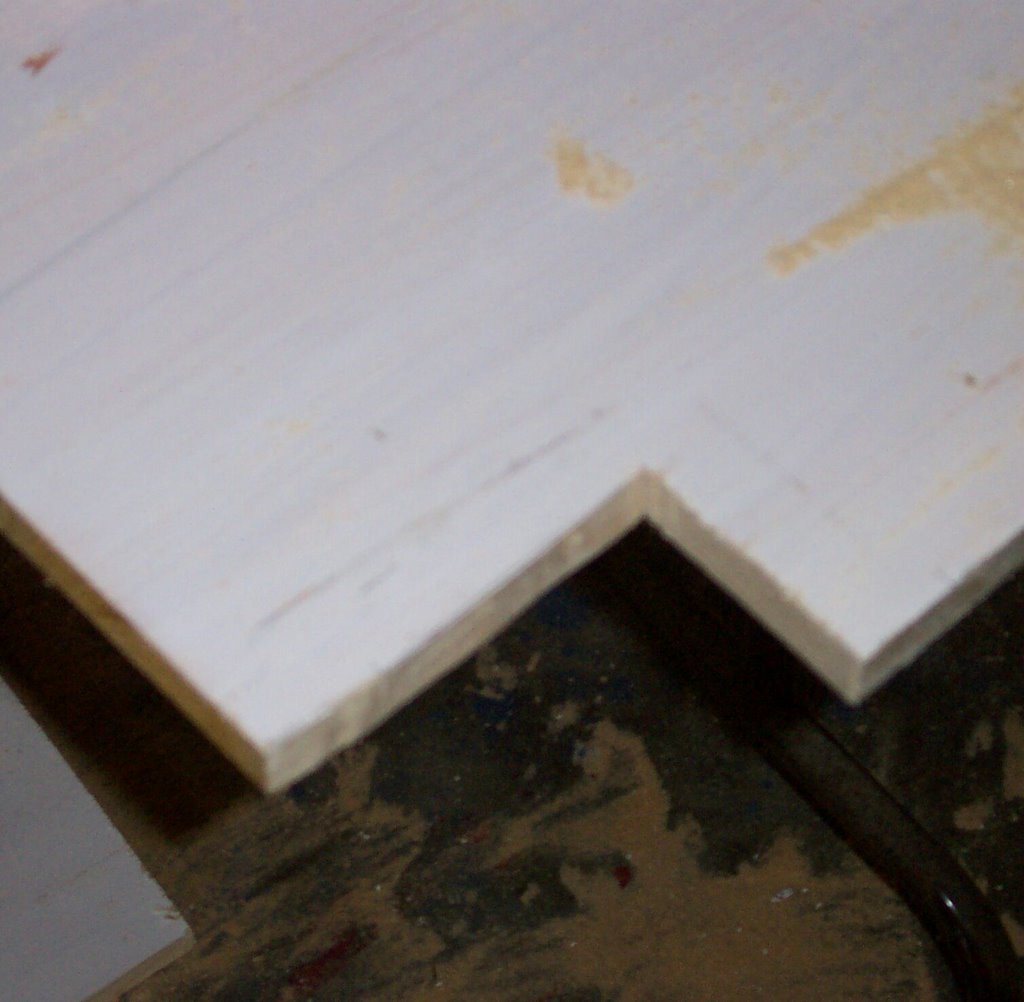
After the side is done, make an identical one from the MDF board.

 After you have your pieces all cut for the front, lay them out and make sure they are going to be the right size. It's now time to put these parts together. I used a biscuit joiner to put biscuits in, first filling the holes with wood glue.
The biscuits are the little wooden football looking things. They go down in a groove that is cut with the biscuit joiner and half goes in each piece of wood to hold it together better. Don't fret if there is some space between your pieces due to your cuts. Wood putty and paintable caulk are your friends and very valuable for this purpose
 After you have the parts joined together tightly, square it up using an L Square or measure corner to corner going both diagonal directions and clamp it overnight to dry.
If you don't have a biscuit joiner, then you can just glue and clamp. There are all types of hardware you can buy to put two pieces of wood together. Flat metal plates and things like that.
Class dismissed for the day. Check back tomorrow for further progress.